

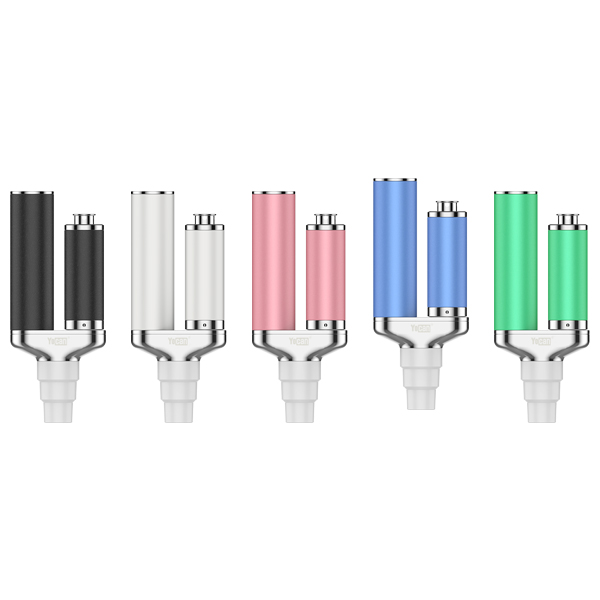
 Sample
 Yocan® U.S.A. Official Store
 Yocan® Canada Official Store
 Yocan Black® Official Store
Industry News, News
Vape Pen Not Functioning? Resolve It in 5 Minutes
A straightforward guide to restoring your device to normal operation—no unnecessary jargon.
Quick Diagnostic Reference
| Symptom | Likely Cause |
| Indicator light flashing; device will not charge | Poor electrical contact or debris in the charging port |
| Charges but produces no vapor | Clogged airway, incorrect voltage setting, or loose cartridge connection |
| No response at all | Depleted battery or damaged heating coil |
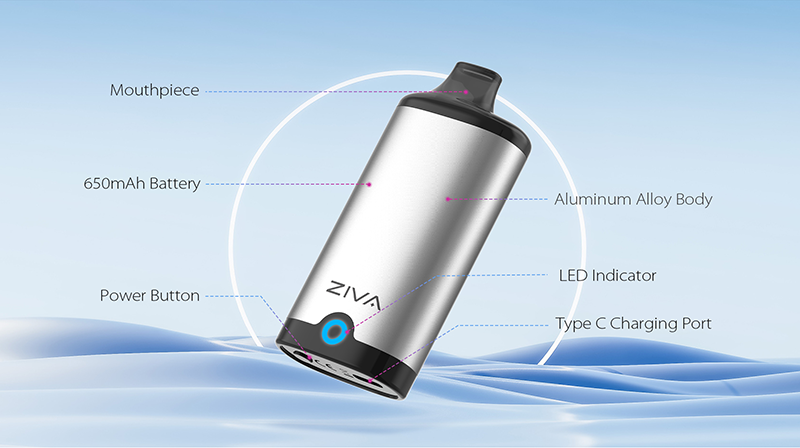
If the Device Does Not Charge
Adjust the Connection Pin
Remove the battery from the cartridge. Locate the small metal disc on the top face—this is the 510 connection pin. Insert a paperclip between the edge of the pin and the surrounding threads, then gently pry it upward by approximately one to two millimeters. Avoid excessive force; the objective is simply to restore proper contact.
Clean the Charging Port
Lint and debris frequently accumulate inside the charging port. Use a wooden toothpick to carefully remove any foreign material. Do not insert metal objects into the port, as this may damage the internal connectors.
Verify Charger Compatibility
Not all USB cables and adapters deliver adequate power output. Use the charger originally provided with your device, or a confirmed functional USB power source. If the device charges when connected to a laptop but not to a wall outlet, the wall adapter is likely the cause.
Test an Alternate Power Source
Connect the device to a different power source—such as a laptop, power bank, or separate wall outlet. If the device remains unresponsive after these steps, the battery has likely reached the end of its service life and will require replacement.
If the Device Charges but Does Not Produce Vapor
- Confirm the Device Is Powered On
For models equipped with a manual button, press the button five times within two seconds to power on the device. This is the standard activation sequence for most vape pens. If your device is draw-activated, this step does not apply. - Adjust Cartridge Tightness
Unscrew the cartridge completely, then reattach it with a finger-tight connection—secure enough to hold firmly, but not so tight as to compress the connector. Over-tightening can depress the connection pin and interrupt the electrical circuit. - Adjust the Voltage Setting
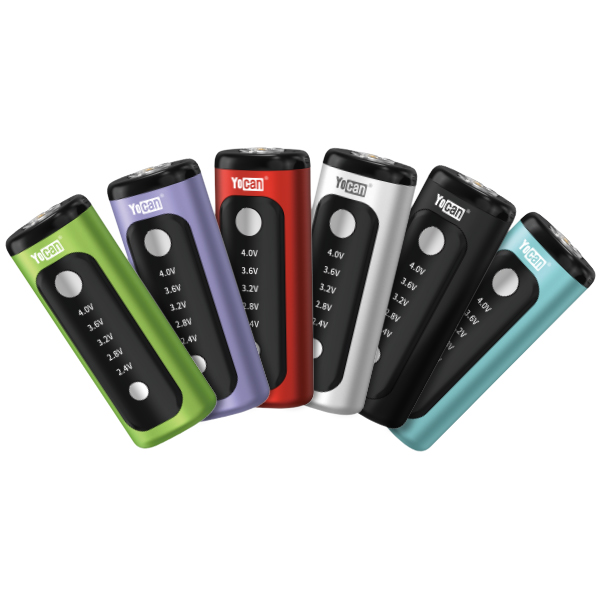
Begin at the lowest voltage setting (2.0–2.5V) and increase gradually. Most cartridges perform optimally within the 2.5–3.5V range. If no vapor is produced even at maximum output, the issue is unrelated to voltage. - Clear Airway Blockages
Gently blow through the mouthpiece to apply reverse airflow, which may push thickened oil back toward the coil. Alternatively, use a hair dryer on its lowest heat setting, held approximately six inches (15 cm) from the cartridge, for 15 to 30 seconds to liquefy stubborn residue. For buildup on the connection plate, lightly moisten a cotton swab with isopropyl alcohol, wipe the plate clean, and allow it to dry completely before reassembling the device. - Replace the Heating Coil
A burnt taste or complete lack of vapor indicates the coil has failed. Unscrew the old coil, apply 5–8 drops of e-liquid to the new coil to saturate the wicking material, wait 30–60 seconds for absorption, then install the new coil securely.
When to Discontinue Troubleshooting
If the above steps do not restore functionality:
- The battery may be permanently depleted and is not cost-effective to repair.
- The cartridge may be defective—testing with a known-working cartridge can confirm this.
- The coil may be irreparably damaged and requires replacement.
Before Purchasing a Replacement Device…
If your device is a Yocan product and was purchased within the last three months, do not discard it.
All Yocan products are covered by a 3‑month warranty against manufacturing defects (excluding damage resulting from misuse or accidental physical impact). If your device is determined to have a valid defect, we will provide a replacement at no cost.
To initiate a warranty claim:
- Visit our official support page.
- Have your order number and proof of purchase readily available.
- Provide a clear description of the issue and the troubleshooting steps you have already performed.
Experience more Yocan products now and enjoy a brand-new experience.
This is a good product. But the use of the magnetic adapter is problematic. The adapters get thick deposits which render them non-functional and requiring cleaning. Also the issue of over and under tightening is too finicky.
Thank you very much for your feedback. We’ll take your suggestions into account to further improve our product~