


Company News, Industry News, News
Yocan Pillar Electric Dab Rig 9-Step Tutorial
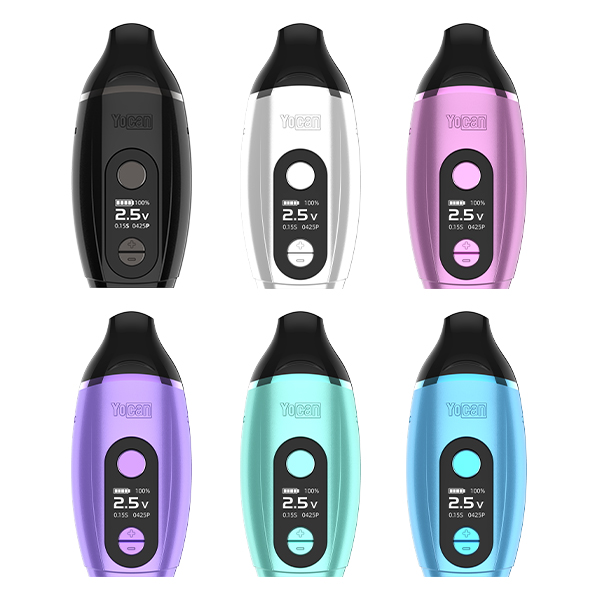
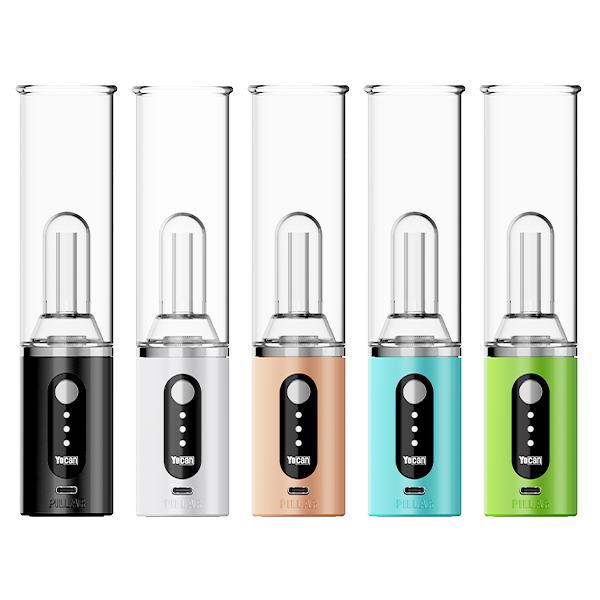
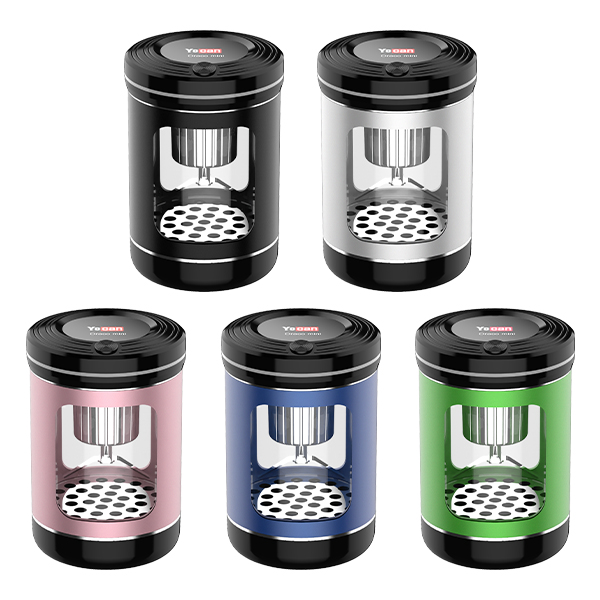
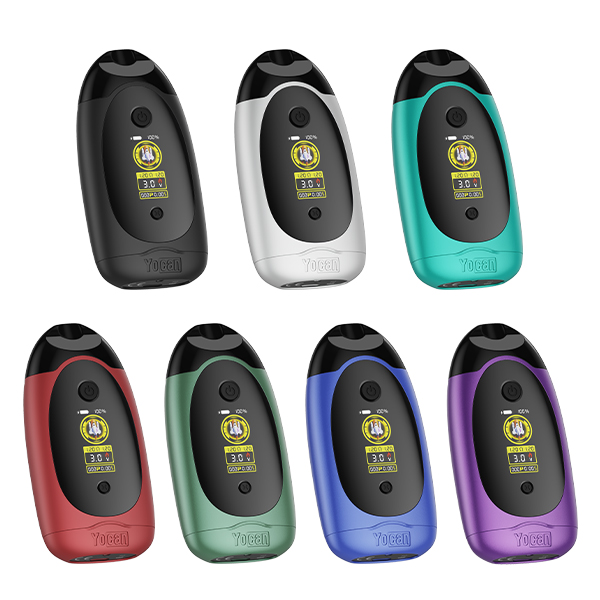
Smokers are increasingly looking for the convenience of vaping. the Yocan Pillar electric dab rig is a sleek, portable, and simple construction of the world’s first smart e-rig with TGT heating technology.
When you decide to buy or invest in a new product, you must want to have a thorough understanding of it. The following will show you a tutorial on how to use the Yocan portable E-Rig.
Nine-step tutorial on using the Yocan Pillar electric dab rig
Step 1: Prepare the Yocan Pillar electric dab rig
First of all, no matter what electronics you use, make sure you have enough power before you start using them. Ensure you have enough power before using the Yocan Pillar electric dab rig; secondly, prepare water and your favorite concentrate.
Step 2: Separate the Yocan Pillar E-Rig
The whole Pillar is magnetically attached, making it very easy to separate. Separating the base of the unit from the glass nozzle will help you fill the concentrate.
Step 3: Loading Concentrate
Unscrew the coil cover on the base of the body clockwise and start filling the concentrate. The concentration itself is messy and difficult to control when picking it up. The Yocan Pillar electric dab rig Kit comes with a special scoop for precise pick up of concentrate. You can use a spoon to precisely fill the concentrate on the TGT coil. After filling, connect the glass mouthpiece.

Step 4: Fill with water
Pour water into the upper overwater glass nozzle, the standard is to reach the water level line. The water level line is located at the top of the hole.
In this step, you can also remove the overwater glass nozzle from the Yocan Pillar and fill it with water. You just need to be careful to dry the water from the over-glass nozzle during installation.
Step 5: Turn on the power
Powering on is very easy, as with all e-cigarettes. The Yocan Pillar mini electric dab rig can be turned on by quickly pressing the power button on/off button 5 times within 2s. Turning it off is also the same operation as above.
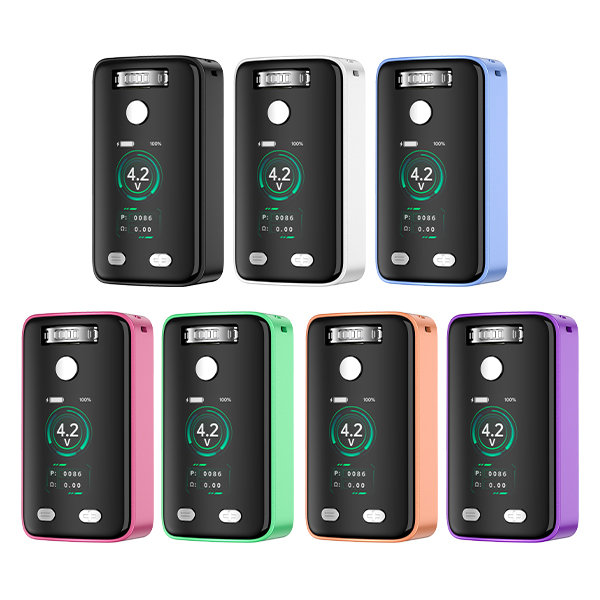
Step 6: Choose the right voltage
There are three voltage levels for you to choose from. First gear 3.2V corresponds to the first white light at Logo, second gear 3.7V corresponds to the second white light at Logo, and third gear 4.2V corresponds to the third white light at Logo. Switching voltage can be switched to the corresponding gear by pressing the power button three times in the power-on state.
Step 7: Adjust the airflow
There is an airflow adjustment valve on the side of the Yocan Pillar smart e-rig. You can adjust the steam airflow by sliding it left and right.
Step 8: Select Mode
This handheld portable e-rig has two modes to choose from. Auto mode and Manual mode. Quickly press the power button twice to start the automatic mode, which stops after the 30s of heating at the selected voltage. Long press the power button to open the manual mode, as long as the power button is held down will keep heating for the 30s and then stop.
Step 9: Start enjoying Yocan Pillar electric dab rig
All the preparations are done and the temperature and mode are selected. You can start to smoke through the water glass mouthpiece and enjoy the happiness that the steam brings to you.
Five tips for Yocan Pillar electric dab rig
1: Do not let the contacts touch any liquid during use to avoid short-circuiting.
2: Do not touch the coil immediately after use to prevent burns.
3: Avoid overcharging.
4: Do not use Yocan Pillar while charging.
5: Regular and timely cleaning after use, can effectively extend the use of the product time.
The above is a detailed description of the Yocan Pillar smart E-Rig in use. If you want to invest in wholesale Yocan cheap electric dab rigs, please get in touch with us for consultation.